

I'll start by describing the greenhouse design and building process, and then briefly show what we've grown inside during its one year of operation to date. Later posts will cover our greenhouse growing techniques, successes, and failures in much greater detail.
We debated and designed our greenhouse for years before it was built. We had to decide: stand-alone or attached to the house, sunroom-style? Supplemental heating or not? What materials to use? We had pros and cons for every possibility.
Stand-alone pros and cons:
A stand-alone greenhouse could be bought as a kit, or inexpensively homemade using recycled materials (I envisioned using sliding glass doors bought on Craigslist).
The challenges would be keeping the greenhouse above freezing, and getting water and power out to the site. Where would the greenhouse be located, and if it was too far from the house, would we get lazy about taking care of the plants inside? Would we walk over to the greenhouse for a daily snip of kale for the smoothie if it was too far away?
Sunroom-style pros and cons:
The benefits of doing it this way were many; the only downside was the cost.
Benefits include: expanding the home's living space, being able to pick the produce without even leaving the house, taking advantage of the house's thermal mass and heating, having power and water easily extended into the space, and even pumping heat from the greenhouse into the house for extra wintertime heating.
Attaching a sunroom to the house would be more expensive: we decided right away that if we built it on to the house, we'd have to do a good job, get quality materials, and treat it as a permanent extension of the house.
We went with the sunroom approach and attached the greenhouse to the south side of our home (the "greenroom"). Aaron was adamant that we stay away from exposed wood, because of the ongoing maintenance required (sealing) and because of the humidity of a greenhouse. We went with steel, which meant we had to hire a contractor since we have no experience working with and welding metal. We had the design worked out already.
Our big idea was that we wanted the greenroom to be extremely efficient at generating heat in the winter (obviously), but during the summer, we wanted to throw the doors/windows open and turn it into a shady porch (or "portale," as they're commonly referred to here) so the space wouldn't be unbearably hot in the summer.
 |
| The greenroom in winter configuration. |
 |
| The greenroom in summer configuration: doors open, with a 50% shade cloth stretched over the top. |
 |
| Inside the shady summer greenroom/covered porch. |
The greenroom is approximately 9' x 20' and encloses a set of french doors to our house, which we can open to both moderate the extreme greenroom heat and to push warm air into the cold house in the winter. On a sunny winter day, with the doors closed and temperatures of 40 F outside, it has gotten over 100 F in the greenroom.
 |
| On a cold January day (1/1/14), the outside temperature ranged from 26-46 F in 24 hours and the temperature in the greenroom ranged from 40-111 F (!) over the same 24-hour period. (66 F is the temperature in the house.) |
 |
| One of two fans the east and west sides of the greenroom for ventilation. The fans are hooked to a thermostatically controlled switch that turns on at 90 F. The triangular open space to the left of the fan has since been filled in with a welded piece of steel. |
 |
| Water spigot and irrigation tubing (between the doors and windows) during greenroom construction. |
 |
| Inside the greenroom at night, with snow on the ground outside and happy tomato plants inside. |
 |
| The greenhouse picks up a beautiful glow every morning. Here it is on a cold morning with ice on the doors. |
 |
| A rainy summer day. |
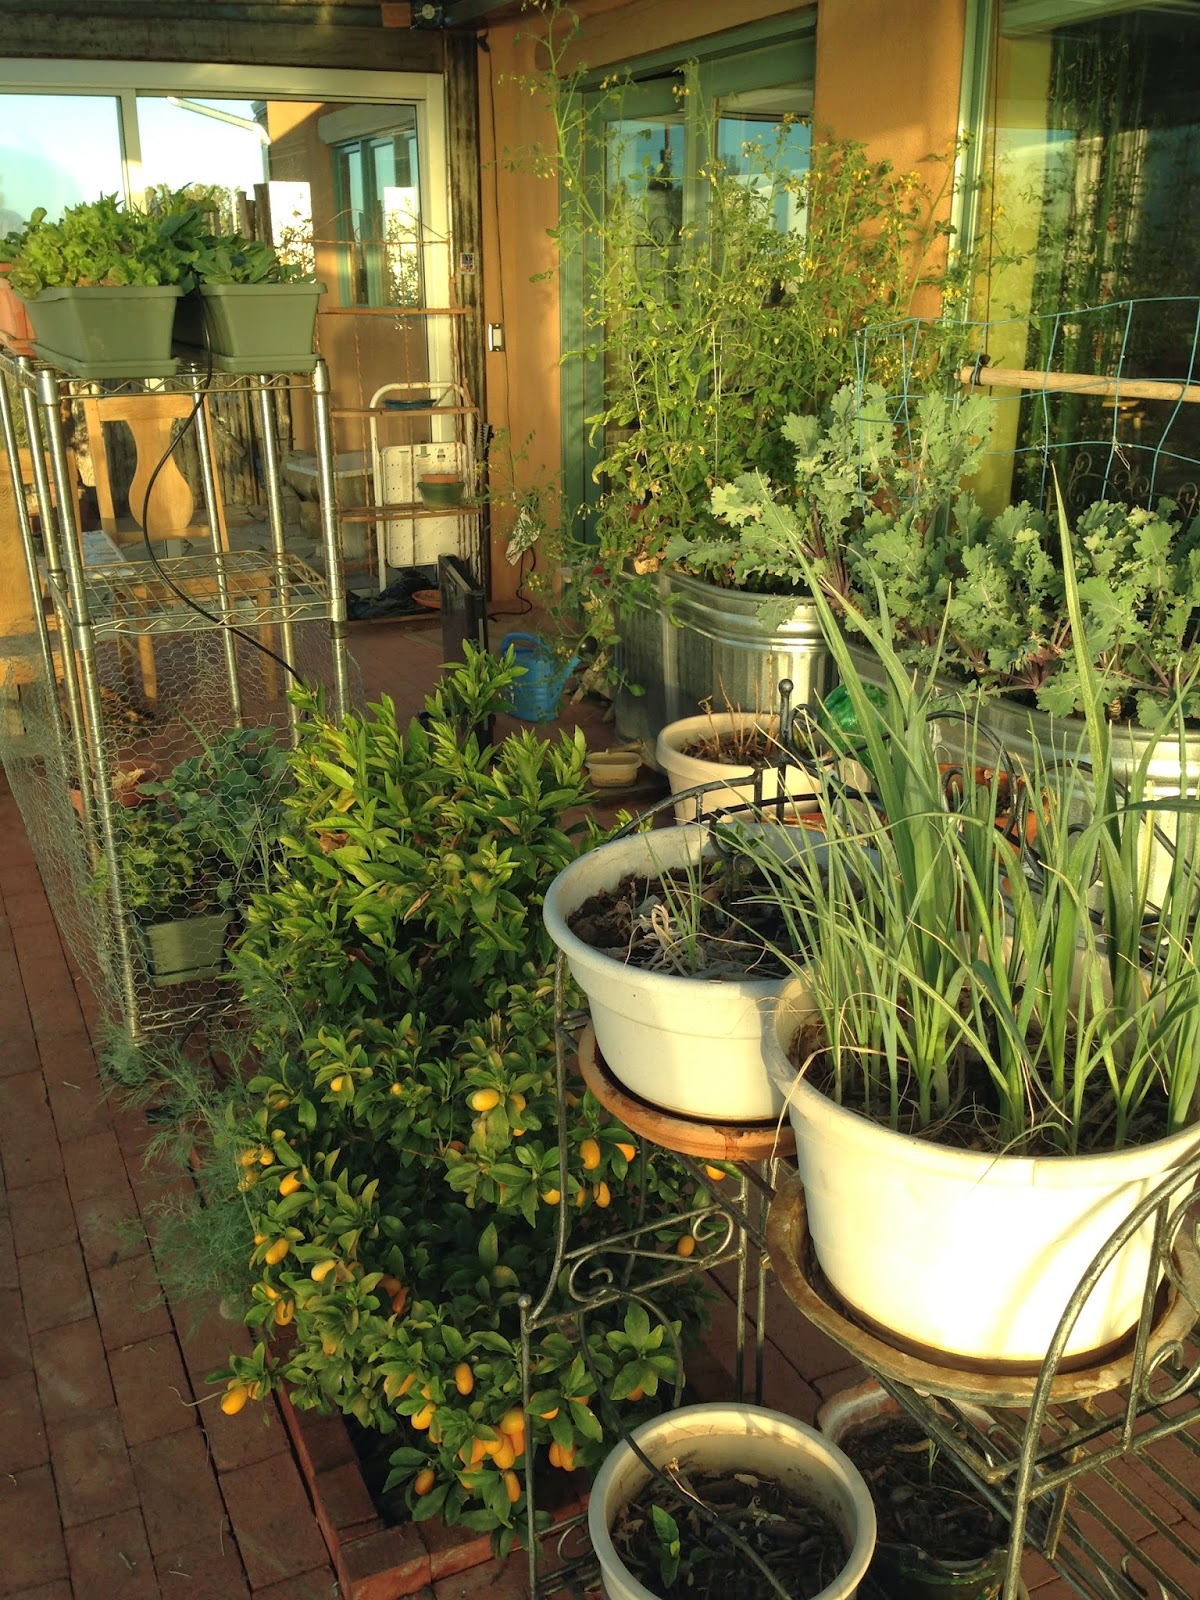 |
| The dwarf kumquat and tangerine trees. We've had these trees for years in large pots, which had to be hefted from the house to the outdoors every spring and back in the fall. Finally, they are in the ground in the greenroom, and are pretty happy there. The huge temperature swings are not always kind to them, but they are getting by (you can see the healthy crop of kumquats this year, and we will get a few tangerines this year too). |
We've been taking temperature data inside and outside the greenroom; in one month we'll have a full year of data and I'll post it and take a look at greenroom performance.
The greenroom went "online" in Spring 2013 with kale, chard, peas, beets, and lettuce. We did not have our act together early enough to work on Summer 2013 starts in the greenroom, so we had to buy small plants from the nursery that year. In Fall 2013 we began testing which plants would grow through the heart of winter. (The kale and chard remained from the spring planting.) We successfully grew lettuce, more kale and chard, radishes, and basil.
At the time, I also planted leeks and hot peppers, which were very slow to grow but are finally taking off in late Winter 2013/2014. A tomato volunteer popped up in one of the planters in the middle of the winter and took off (you can see it in the picture above); we're now harvesting small tomatoes (March 2014). In early 2014 (Jan/Feb), we planted carrots, more beets and lettuce, more radishes, and broccoli, all of which are doing well, but time will tell how successful these are. I'll post more quantitative data on the greenroom as it becomes available.